CB3 UR Usage
This article goes over the steps needed to connect and operate your CB3 Series UR robot from Lensmaster.
Before you start
Connecting Your CB3 Universal Robot To Lensmaster
To connect and control your robot from Lensmaster, you first need to enable the drives on the robot. You'll then be able to simply connect to it from the Lensmaster
Powering on the Robot Drives
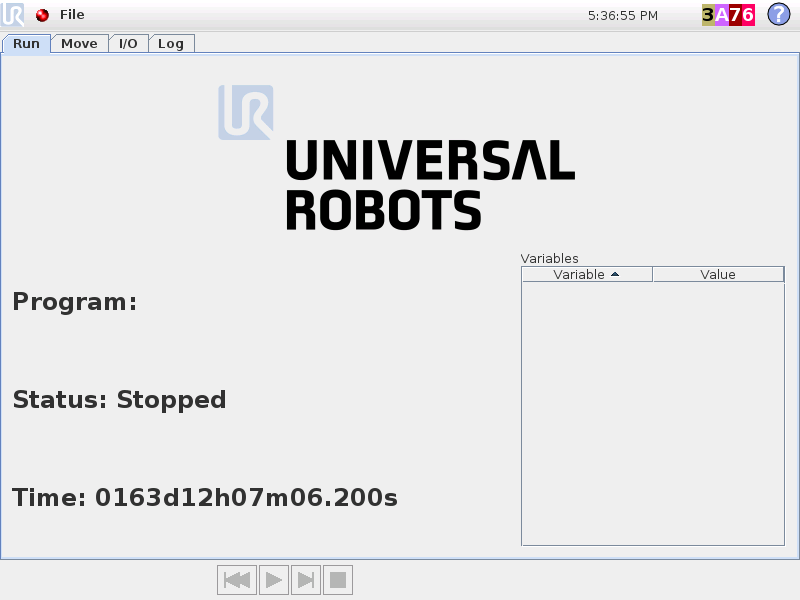
Go to the interface.

Hit the Red Circle in the top-left corner to bring up the interface.

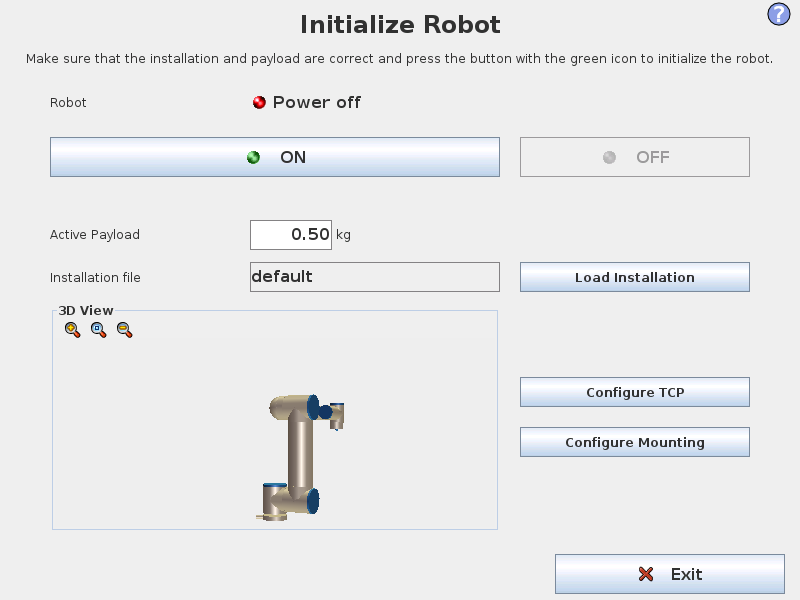
Before powering on the robot drives, you need to specify the weight of the payload (in this case the camera) that is mounted on the robot. You can do so by editing the Active Payload field.
You can now hit the ON button to power on the motor drives. Robot status should now say Idle.
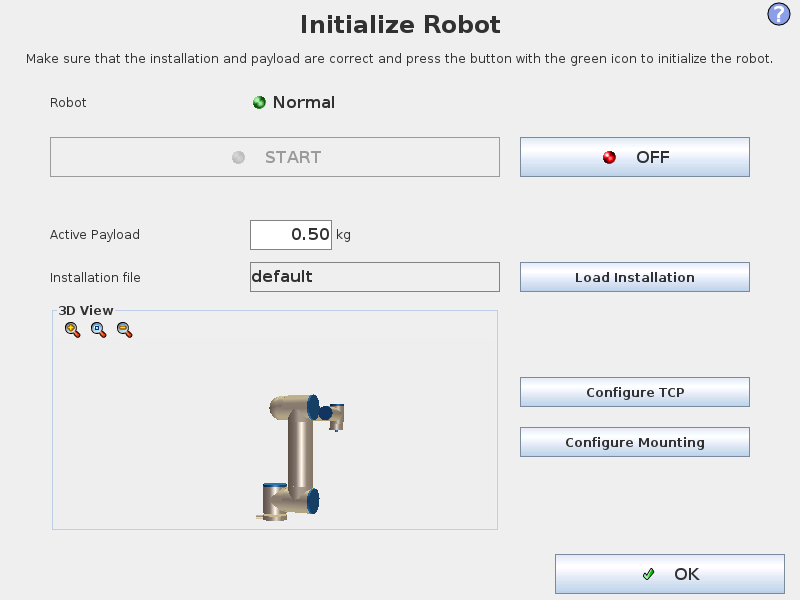
Next, hit the START button to release the axis brakes and enable robot motion. You should hear the brakes click and the robot status should now say Normal.

Finally, hit OK at the bottom right of your screen to close the page. The robot is now ready to connect to Lensmaster.
Initiating the Lensmaster connection
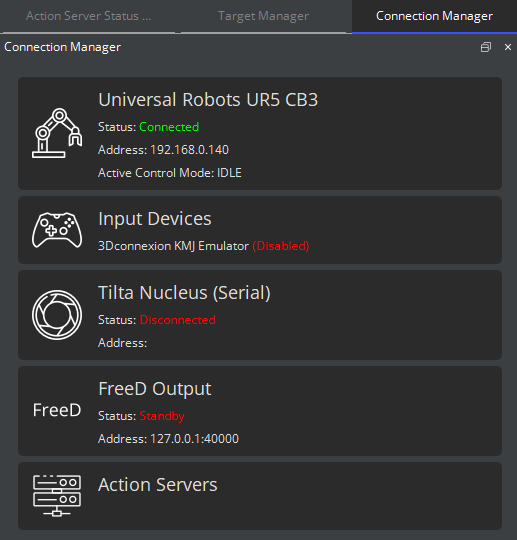
In Lensmaster, go to the widget.
Next right-click on the robot card and hit Connect.
The Status indicator should turn green and say Connected.
