CB3 UR Configuration
This article goes over the steps needed to configure your CB3 Series Universal Robot to work with Lensmaster.
Robot Compatibility
This article covers the configuration steps for the following UR robots:
UR3 CB3
UR5 CB3
UR10 CB3
Setting up your Network
Network Interface Options
There are multiple ways of connecting your robot to your PC:
Option 1: Directly using a crossover ethernet cable.
Option 2: Via a network switch.
Option 3: Through your studio's existing network (consult with your network administrator).
Configuring the Robot
Network Settings
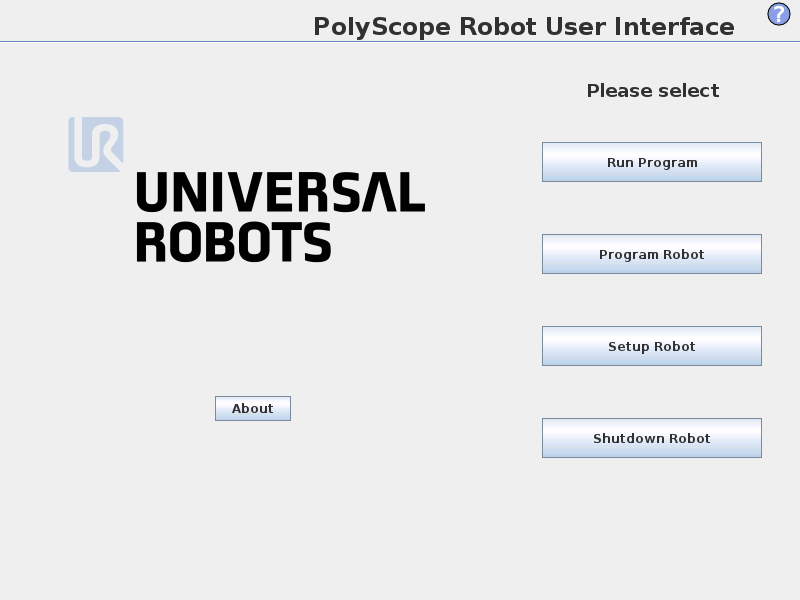
Go to the PolyScope User Interface Home Page.

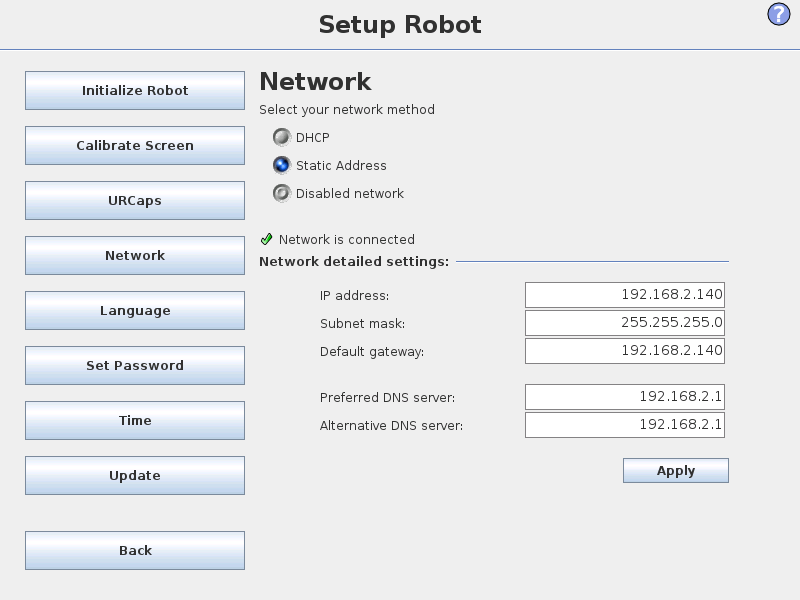
Hit the Setup Robot button to open the robot configuration menu.
Next hit Network to bring up the network configuration tab.

Set the robot Network Method to Static Address and then edit the network settings as follows:
- IP Address: 192.168.2.140 (or any IP Address on the same subnet) - Subnet mask: 255.255.255.0 - Default gateway: 192.168.2.140 (same as the IP Address) - Preferred DNS server: 0.0.0.0 (robot doesn't need internet access) - Alternate DNS server: 0.0.0.0Finally hit apply to confirm your network settings.
Installation Settings
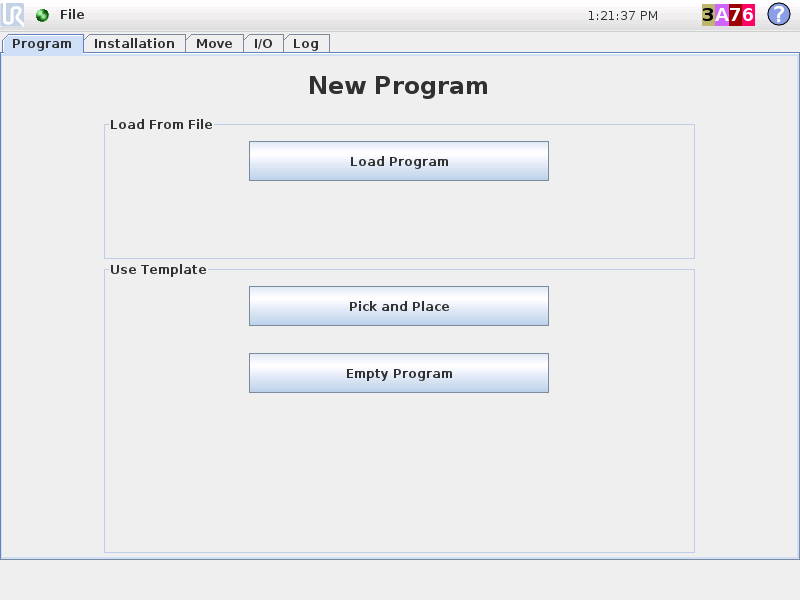
Go to the interface.

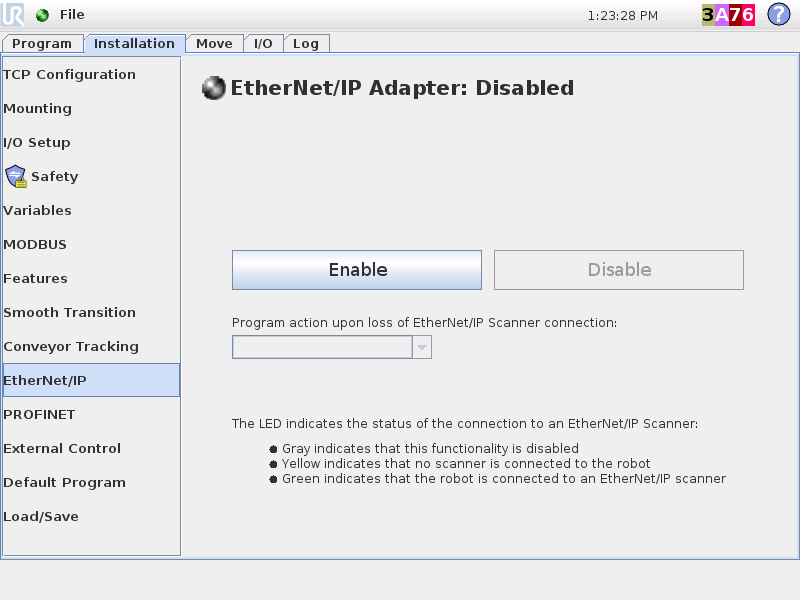
Next navigate to the Installation tab.
Go to the EtherNet/IP page and disable the Ethernet/IP interface if enabled.

Similarly, go to the PROFINET page and disable the Profinet interface if enabled.