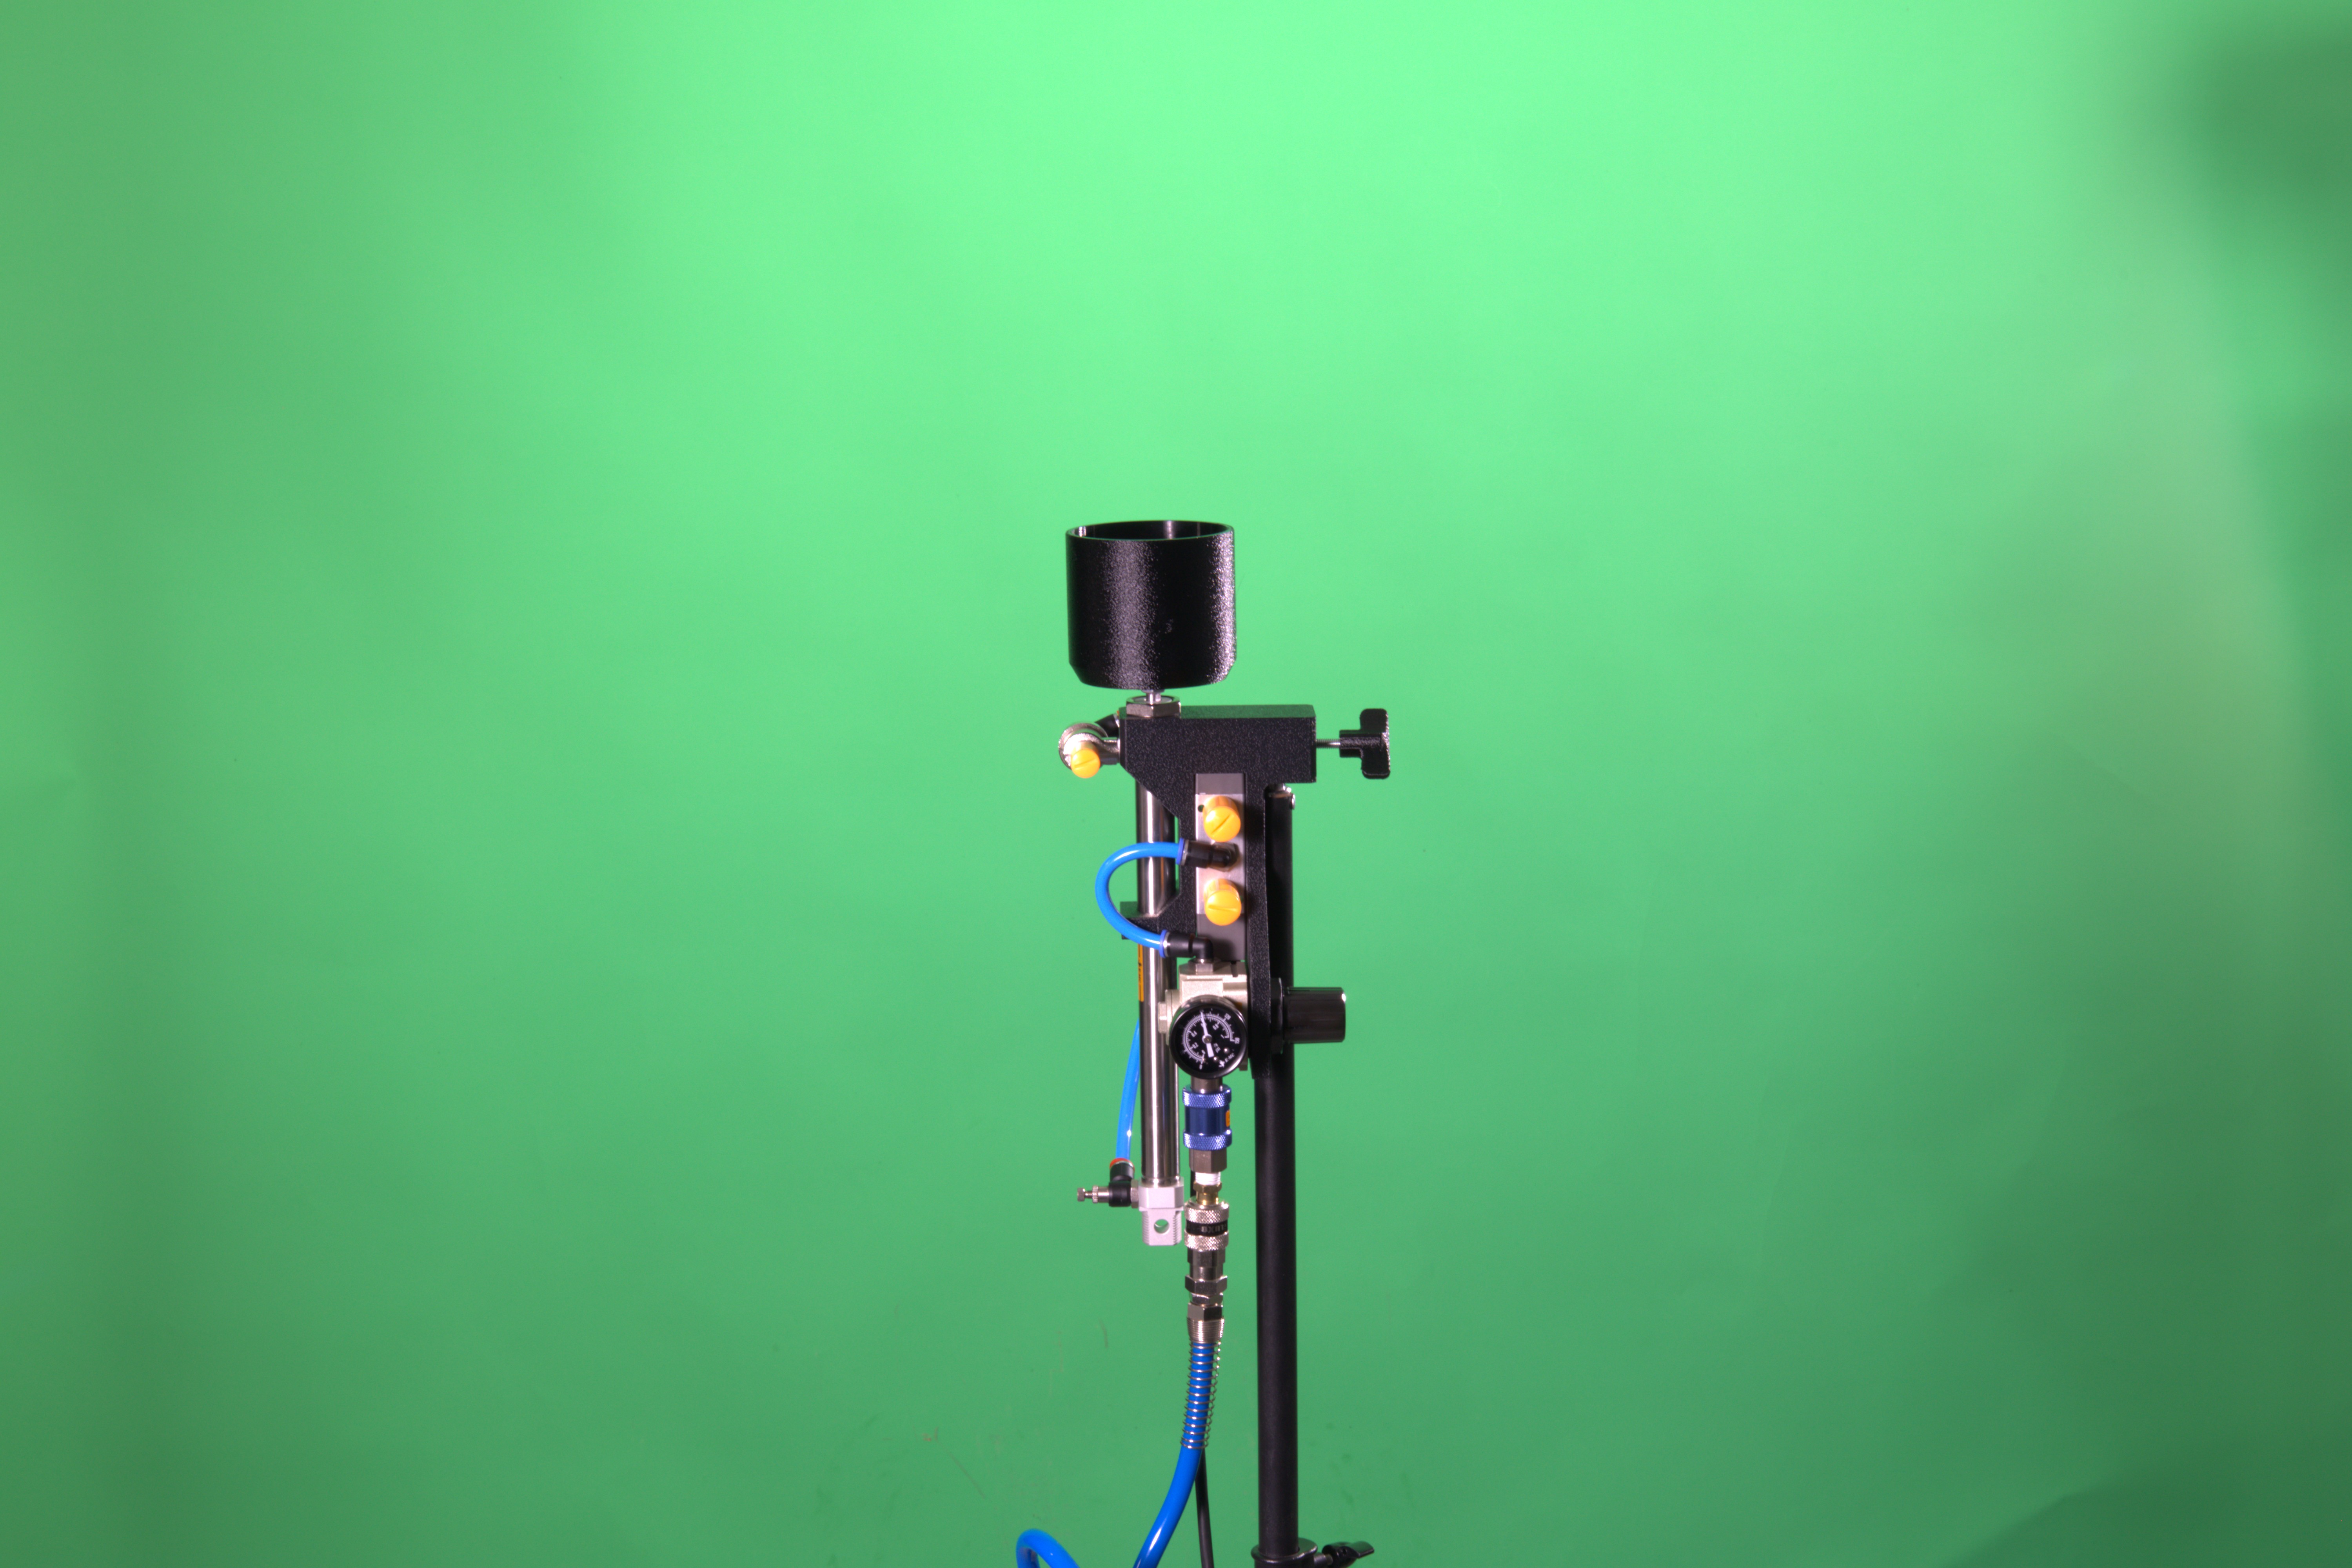
Piston
The pneumatic piston comes with a launch and retract speed control for all your food and tabletop product shots. It includes the plate and the cup attachments.
Specifications
Electrical
Operating Voltage | 10.2 - 13.2 V |
|---|---|
Operating Current | 500 mA |
Pneumatic
Operating Pressure (PSI) | 30-145 PSI |
|---|---|
Operating Pressure (MPa) | 0.2-1 MPa |
Before you start
Tools Needed
Wrench # 13
Mounting the piston
Install the piston onto a tripod with a baby-pin.
Tighten the set screw (highlighted in red) to secure the piston on the tripod.
Swapping the piston heads
The piston comes with 2 possible head attachments:
Piston Cup: Used for launching powdered materials, grains, or liquids.
Piston Plate: Used for launching hand sized objects.
Swapping the piston head
Align the hole at the bottom of the plate/cup to the piston.
Screw the piston head into the piston by rotating it clockwise while holding the nut (highlighted in red) using the wrench # 13 to make sure the piston head is secured.
To uninstall the piston head, rotate the head counterclockwise and remove it from piston.
Connecting to a compressor
To run, the piston requires a compressed air source. This can be either a compressor or a pre-filled compressed air tank.
Attach the quick release valve to the compressor.

Activate the compressor and let it fill up.
Adjust the pressure by pulling the adjustment knob (highlighted in red) outward and rotate it clockwise to increase pressure and counterclockwise to decrease it.
Push the knob back into place once the desired pressure is reached.
Adjusting Speed/Force
Adjusting Launching Speed
Rotate the knob on the speed controller (highlighted in red) counterclockwise to increase the speed of launching. To decrease the speed of launching, rotate the knob clockwise.
Adjusting Retraction Speed
Rotate the knob on the speed controller (highlighted in red) counterclockwise to increase the speed of retraction. To decrease the speed of retraction, rotate the knob clockwise.
Connecting to the Action Server
To connect to the action server you will have to plug the green connector on your piston cable into any of the 10 Digital Outputs on the action server.
You can test the connection by using the interface on the action server to toggle the output. Check the testing digital outputs topic for more info.
You can also toggle the output from Lensmaster either manually using manual digital output controls or on the timeline using triggers for timeline digital output controls.
Actuating piston without an electrical source
The piston can be actuated manually by clicking on the solenoid valve button (highlighted in red).