Installing the Lensmaster Legacy Action Server
Before proceeding with the installation, connect your Raspberry Pi to a Wifi network with Internet access as the installer might need to download some dependencies.
Copy the “Lensmaster Action Server for Raspberry Pi” zip file downloaded from your customer portal onto the Raspberry Pi using a USB stick.
Extract the contents of the ZIP archive onto your Raspberry Pi Desktop. You should now have a folder called “LensmasterActionServer”.
(Optional) Edit the config.json file in the extracted folder to change the action server configuration. Check Configuring the Action Server for more details.
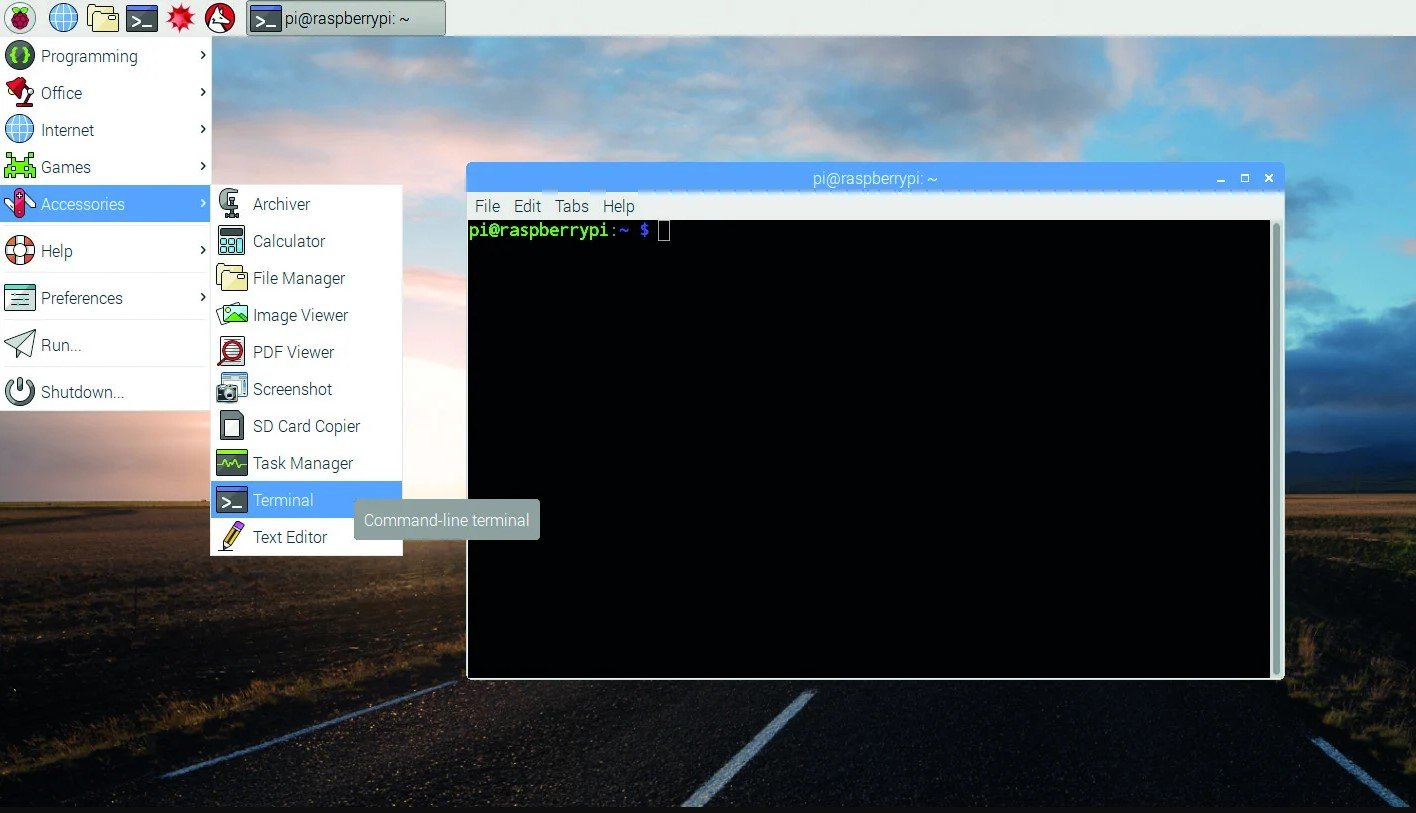
Open a new terminal window by clicking the terminal icon at the top left of your screen.
Run the following commands:
cd /usr/lib/python3.11 sudo rm EXTERNALLY-MANAGED sudo apt-get install dhcpcdIn the terminal now type and run (by hitting enter) the following commands in order:
cd Desktop/LensmasterActionServer sudo python3 install.py
Lensmaster Action Server should now be installed and activated on your raspberry Pi.
Turn off wifi on the Raspberry Pi
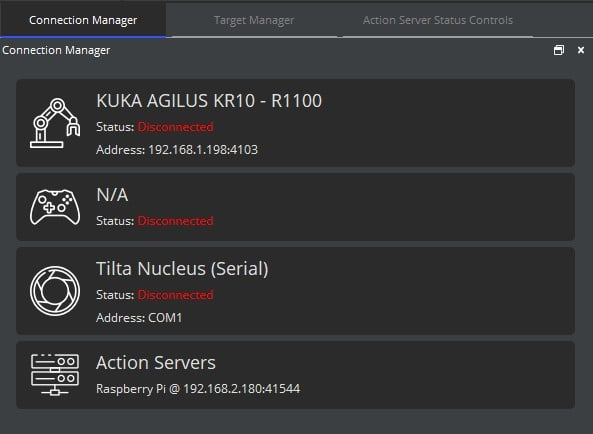
Finally plug in your raspberry Pi using ethernet to the same network switch as your robot and Lensmaster PC. The new device should automatically show up under Action Servers in the Lensmaster Connection Manager.
